I'm Tetsuya, a product development engineer and field application engineer. This blog post is the latest in a series highlighting TIER IV’s Edge.Auto platform. Here I will explain the features and benefits of Edge.Auto products and outline the steps for building an object detection system using TIER IV cameras and open-source software. This content will hopefully be of interest not only to those working on autonomous driving development but also to engineers in a range of fields, including robotics.
Key features of TIER IV cameras include the following:
- High dynamic range (HDR)
- LED flicker mitigation
- Shutter synchronization
You can find more information about these features in previous articles in this series. The technical specifications for each camera are available on the Edge.Auto documentation site:
Camera configuration
First steps
The following devices were used in this demonstration:
- Connect Tech Anvil
- TIER IV C1 Camera x1
- Camera for comparison
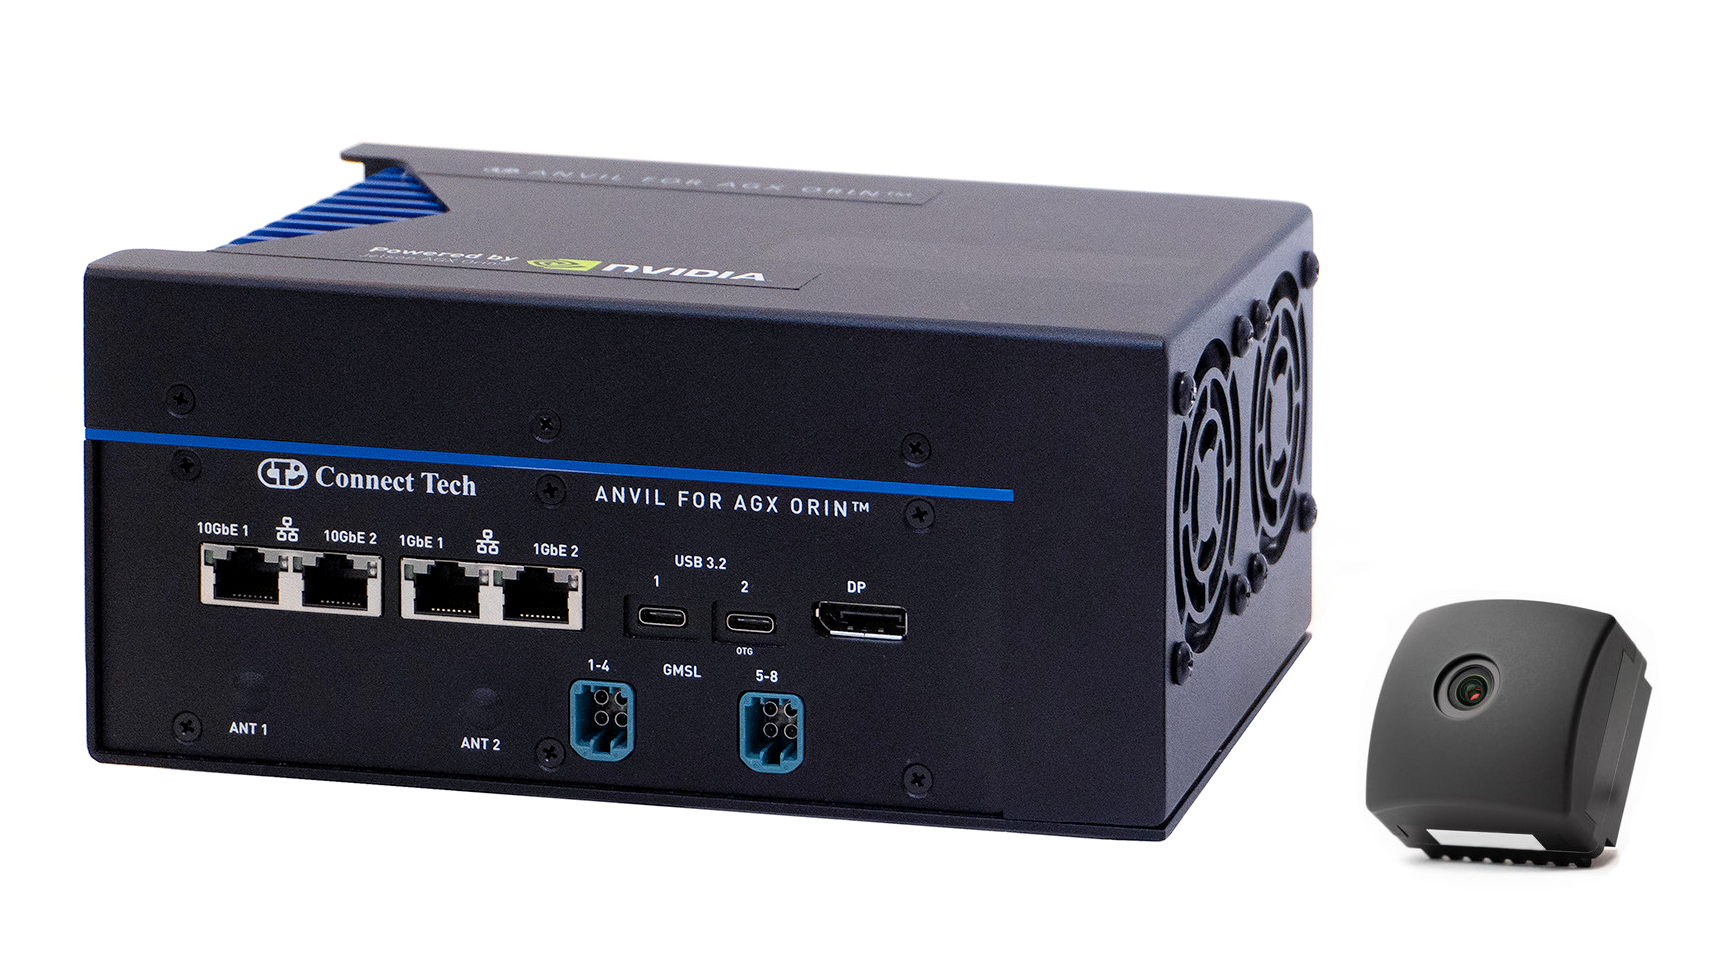
Connect Tech Anvil and C1 Camera
Operating environment
To get started, install the TIER IV camera driver. For this demonstration, we will use the setup script in the edge-auto-jetson repository, which TIER IV has made public. This script uses Ansible to execute the following steps:
- Install the TIER IV camera driver
- Install ROS2 (Humble)
- Prepare the environment for object detection (YOLO)
Let’s jump right in:
1. Launch the terminal and, in the Anvil home directory, clone the source from the edge-auto-jetson repository.
git clone https://github.com/tier4/edge-auto-jetson.git
2. Run the environment setup script.
cd edge-auto-jetson ./setup-dev-env.sh
3. Enter your user password when prompted.
BECOME password:
When prompted, choose whether to automatically assign IP addresses for LiDAR and other sensors. This setting is used for sensor fusion. Either option works, but for this demonstration, select "y" (yes).
Do you want to configure the network? This configuration may overwrite the IP address of the specific network interface [y/N]:
You will be asked if you want to automatically configure settings for real-time processes. Select "y" (yes).
[Warning] Do you want to configure user resources? Only necessary if CONFIG_RT_GROUP_SCHED is enabled [y/N]:
You will be asked if you want to install the TIER IV camera driver. Select "y" (yes).
[Warning] Do you want to install/update the TIER IV camera driver? [y/N]:
After entering the above commands, Ansible will run and begin setting up the environment. It will take approximately 1 to 2 hours for the environment build to complete.
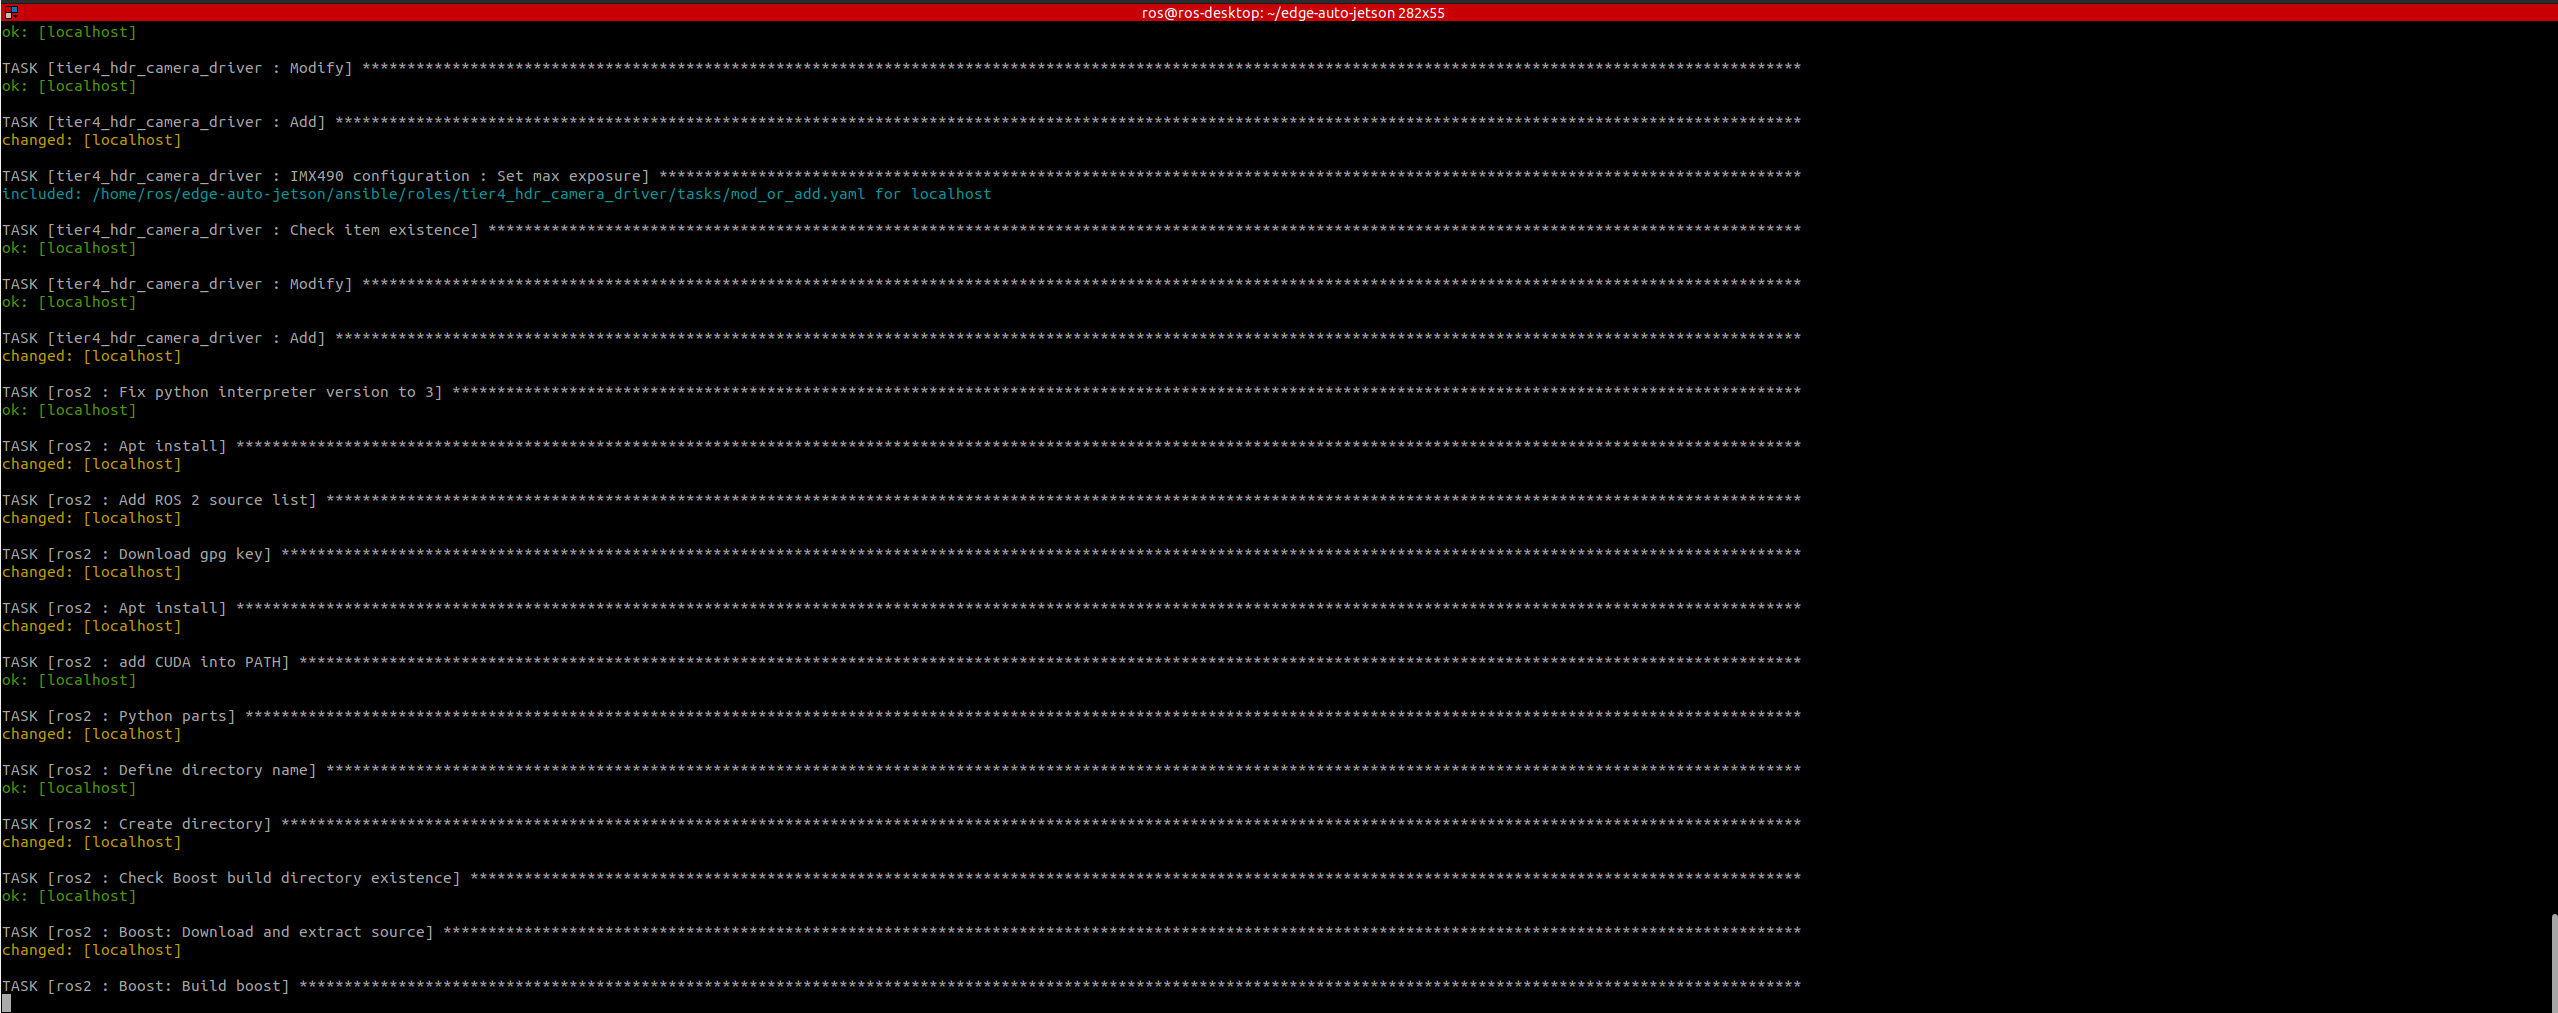
Screenshot of the environment setup script in progress
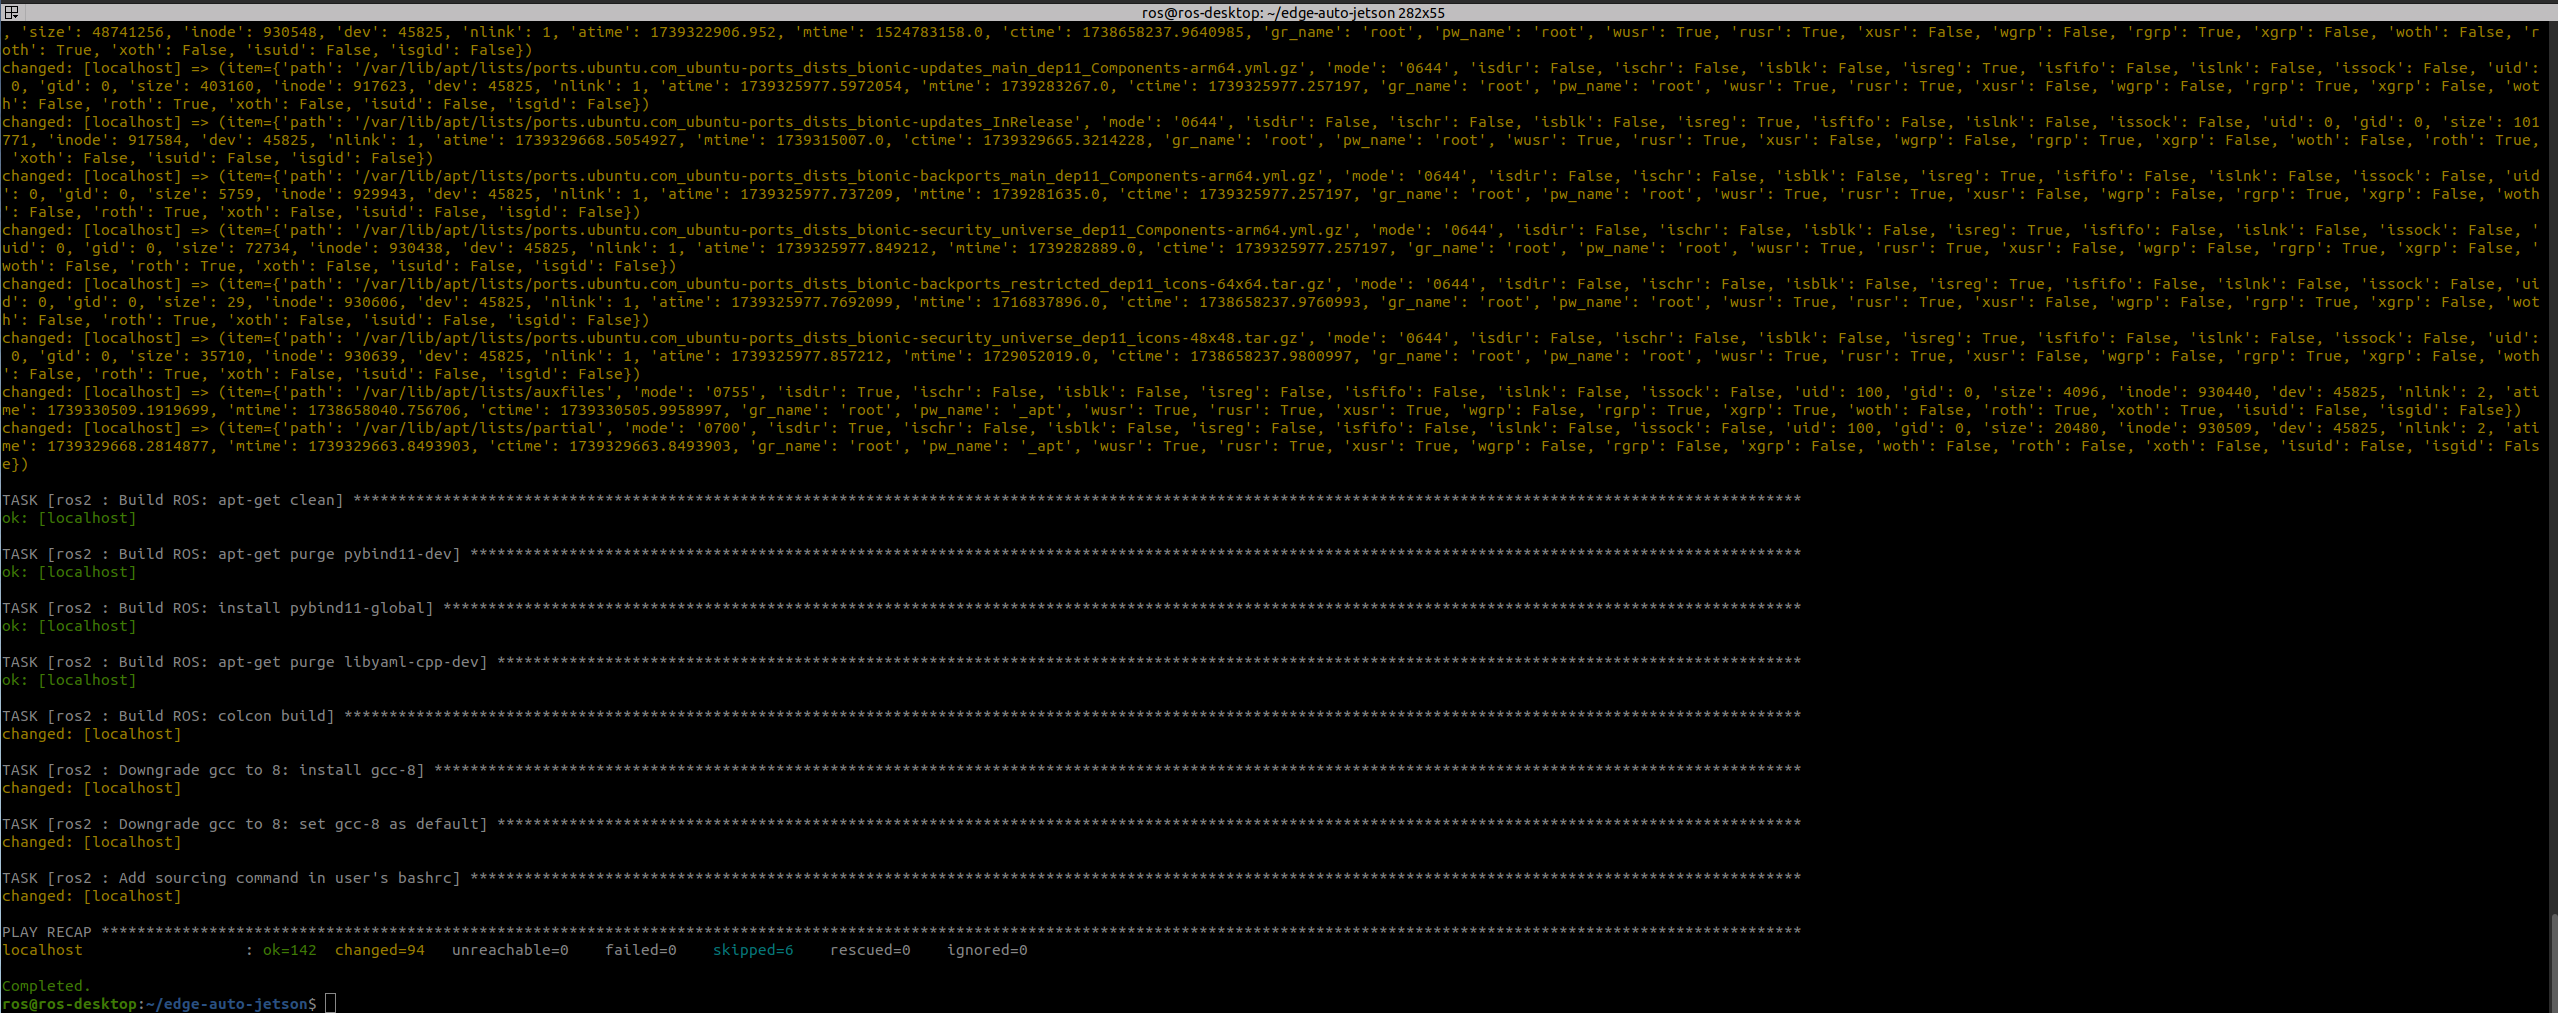
Screenshot of the environment setup script upon completion
4. After the environment setup script has finished running, you will need to modify the camera connection settings. The default configuration is for the C2 Camera, so we will change it to the settings for the C1 Camera used in this demonstration.
sudo perl -pi -e 's/DEFAULT primary_t4_c2x8/DEFAULT primary_t4_c1x8/g' /boot/extlinux/extlinux.conf
5. Reboot Anvil to apply the configuration changes. The default power mode is set to "2: MODE 30W," which limits CPU/GPU performance. Use the following command to remove the restriction and reboot:
sudo nvpmodel 0
With the steps above, the setup of the development environment is complete. By entering a few commands, you can establish an environment for object detection to control autonomous mobile robots using TIER IV cameras in just a couple of hours.
For users who do not require ROS or YOLO, you can find instructions on the documentation site on how to install only the camera driver, which takes about 30 minutes.
Verifying camera output
Next, let’s confirm that the environment setup has been completed and that the camera is operating correctly.
We will use Gstreamer to verify the camera output. Gstreamer is commonly used in the development of multimedia applications, including video and audio, and it comes pre-installed on Jetson devices.
Execute the following command to check the operation of the camera:
gst-launch-1.0 v4l2src io-mode=0 device=/dev/video0 do-timestamp=true ! 'video/x-raw, width=1920, height=1280, framerate=30/1, format=UYVY' ! videoscale ! xvimagesink sync=false
If the configuration is set up correctly, the video feed from the C1 Camera will appear.
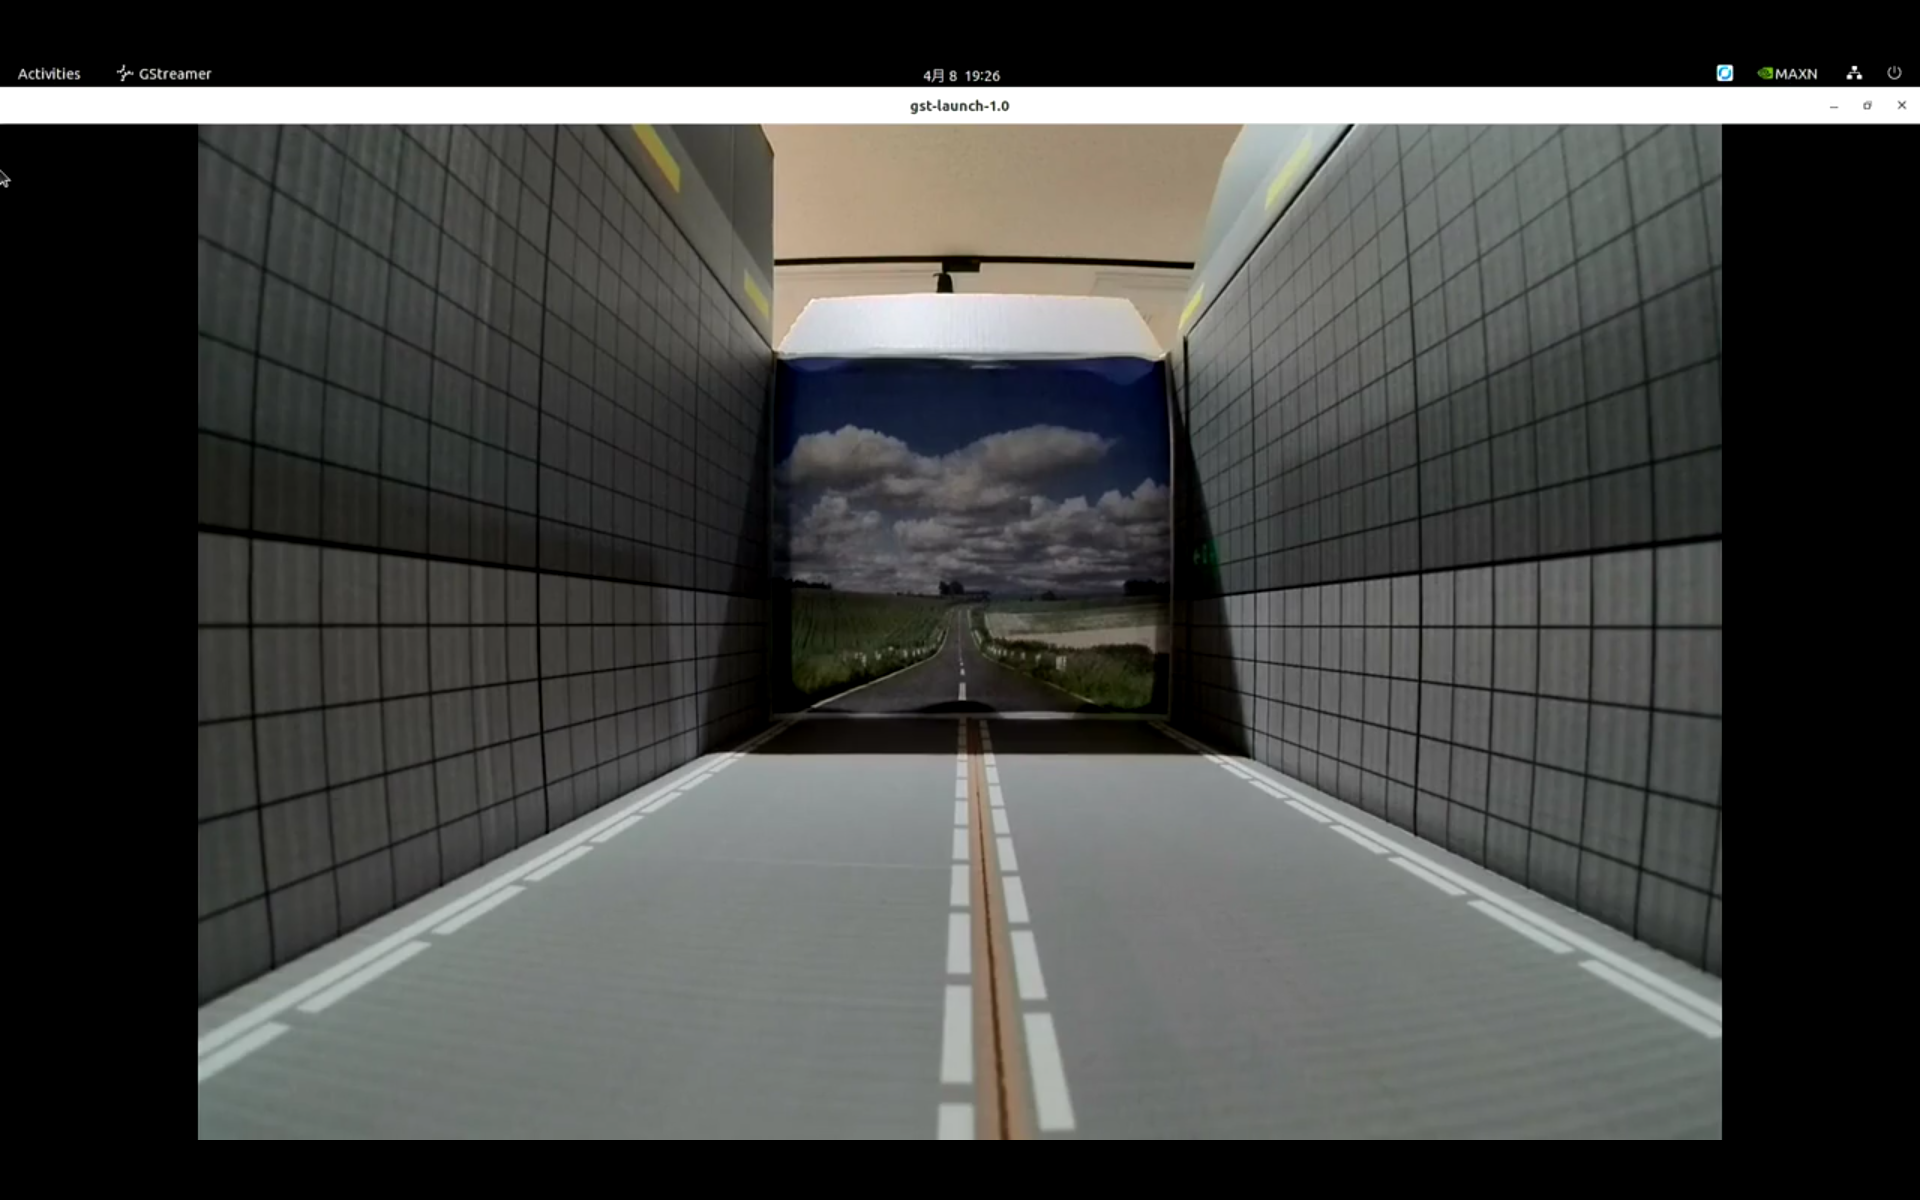 GStreamer display
Camera operation
Recognition processing
Start the image recognition process in edge-auto-jetson and run the object detection process using the C1 Camera. Open five terminal windows on the Jetson device and execute the following commands in order.
1. Launch the camera driver
source ~/edge-auto-jetson/install/setup.bash ros2 launch edge_auto_jetson_launch v4l2_camera.launch.xml
2. Initiate the object recognition process
source ~/edge-auto-jetson/install/setup.bash ros2 launch edge_auto_jetson_launch tensorrt_yolox.launch.xml
3. Start the object tracking process
source ~/edge-auto-jetson/install/setup.bash ros2 launch edge_auto_jetson_launch bytetrack.launch.xml input/image:=/image_raw
4. Display the results
rqt -s rqt_image_view/ImageView
5. Next, a GUI will appear. Select the following:
/perception/object_recognition/detection/tracked/rois0/debug/image/compressed
After executing the above commands, the GUI will display a video feed similar to the one below, with bounding boxes around each vehicle indicating they are being detected. Each box has an ID number in the top-left corner that tracks the vehicles across multiple frames.

Diagram illustrates the processing steps described above.
As demonstrated, edge-auto-jetson allows you to easily experiment with object detection and tracking – essential processes for an autonomous vehicle or robot to perceive the environment and react accordingly – without having to perform a complicated environment setup or build a recognition processing unit.
Furthermore, all the software demonstrated here is open-source and available on GitHub. This makes it straightforward to implement your own modifications to these recognition processes or to integrate custom processing based on the recognition results.
Camera comparison
Next, let’s focus on three key features of TIER IV cameras using the trigger output, image display, and the object detection processes.
High dynamic range
In scenes with significant variations in brightness, adjusting the exposure for either the bright or dark areas often leads to overexposure or underexposure with conventional cameras. However, TIER IV cameras are equipped with HDR functionality, which minimizes overexposure and underexposure even in high-contrast lighting conditions.
Let’s compare the TIER IV C1 Camera with another device. First, execute the following command to launch the TIER IV camera and the other camera simultaneously:
gst-launch-1.0 v4l2src io-mode=0 device=/dev/video0 do-timestamp=true ! 'video/x-raw, width=1920, height=1280, framerate=30/1, format=UYVY' ! videoscale ! xvimagesink sync=false
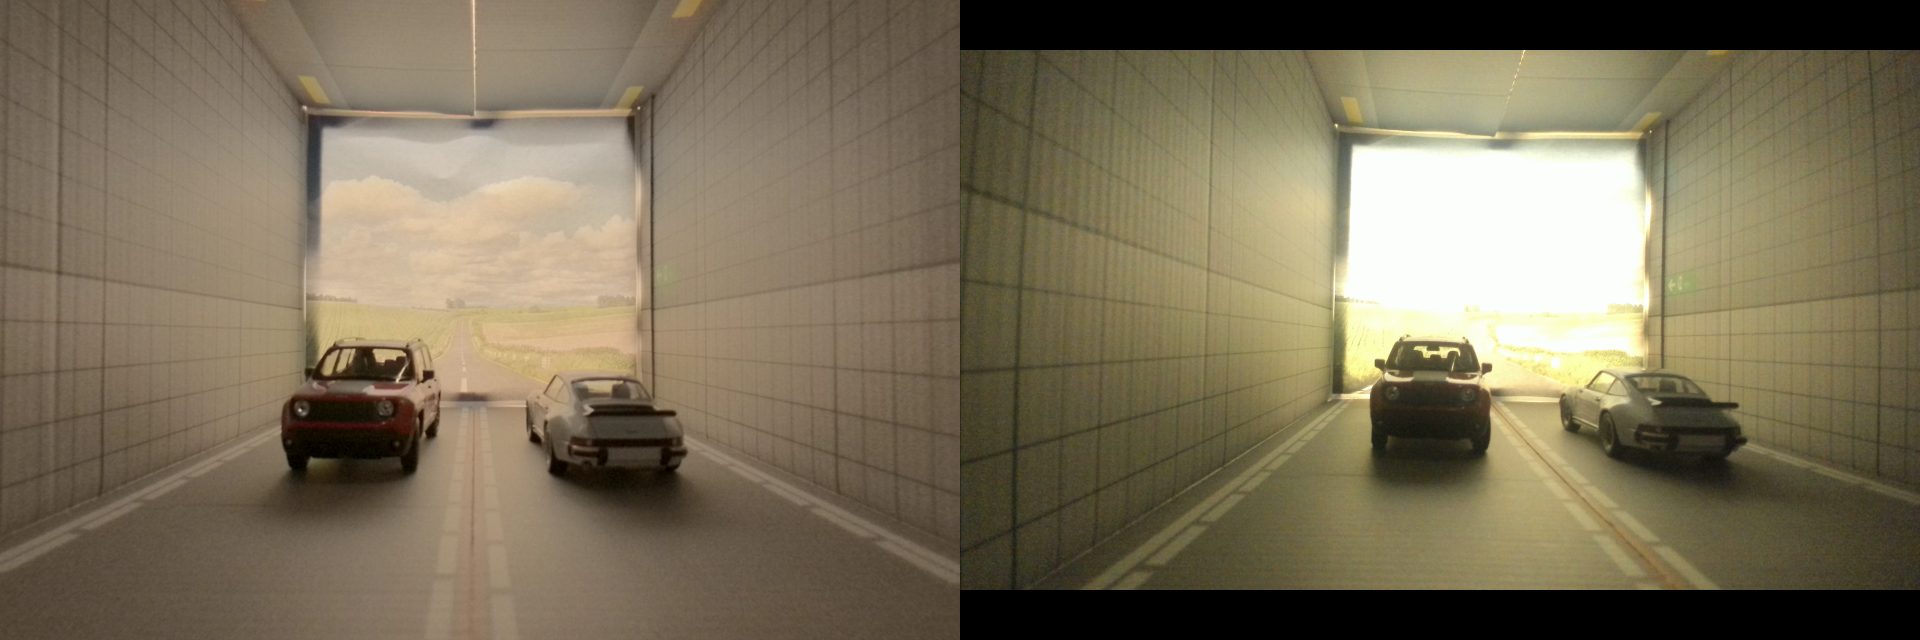 Left: C1 Camera; right: comparative device
With the TIER IV camera, you can clearly discern not only the background but also the color and design details of the vehicle. However, the other camera overexposes the background scenery and underexposes the area around the car.
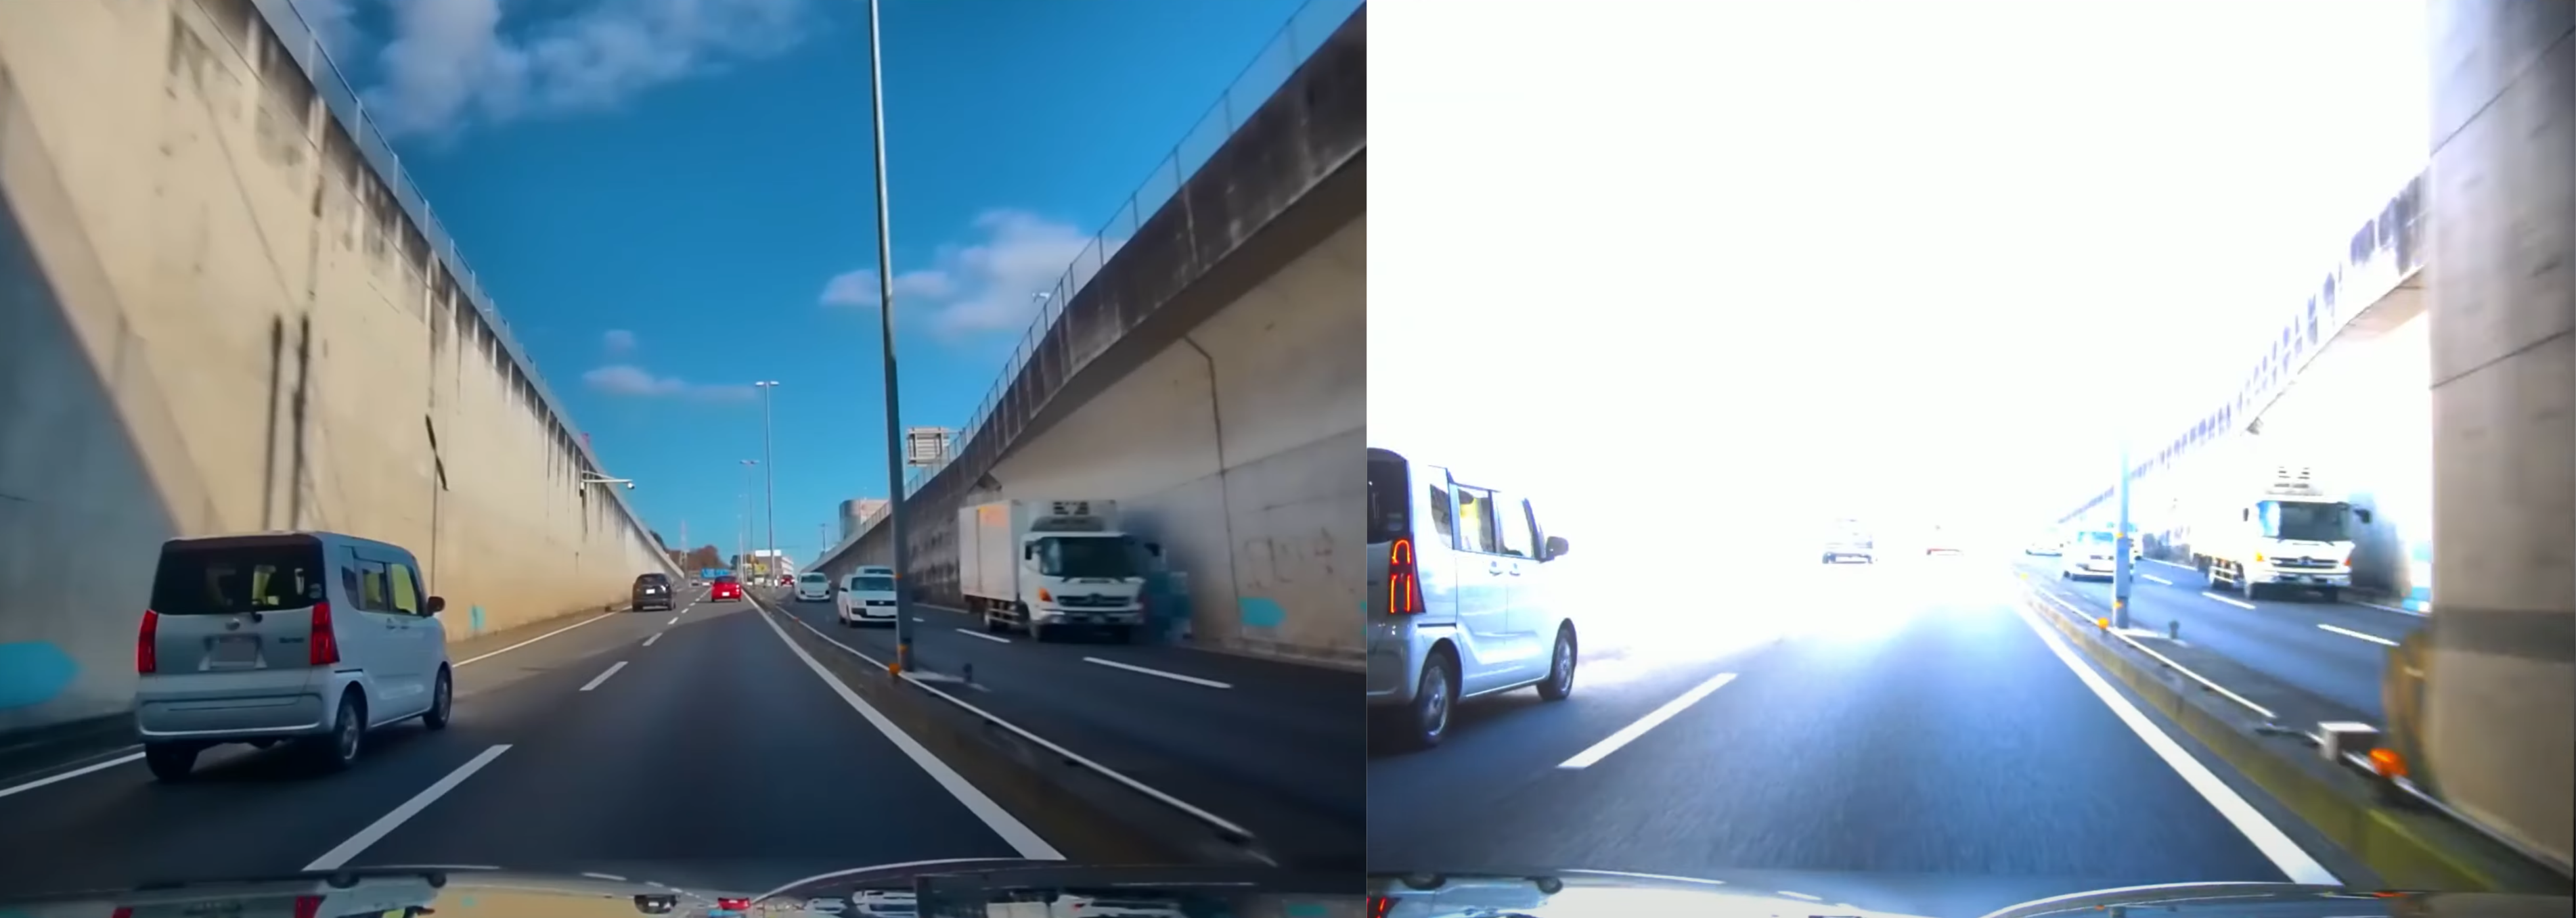
A similar comparison can be seen in this video screenshot.
LED flicker mitigation
LED flicker is a phenomenon that occurs when capturing LED light sources with a camera, causing the light to appear to repeatedly turn on and off. With the increasing use of LEDs in traffic signals, electronic displays, headlights, and taillights, the potential for LED flicker has risen. (For more details, refer to “What is LED Flicker Mitigation?” in the Edge.Auto documentation.
This flicker can interfere with crucial aspects of autonomous driving, such as traffic signal recognition. The TIER IV C1 Camera incorporates an LED flicker mitigation feature designed to reduce this effect. Let's take a look at how it works.
Capture an LED light source with both the C1 Camera and a comparative camera using the Gstreamer command outlined above.
Execute the command below to launch the C1 Camera. This assumes that the TIER IV camera is recognized by the system as /dev/video0.
gst-launch-1.0 v4l2src io-mode=0 device=/dev/video0 do-timestamp=true ! 'video/x-raw, width=1920, height=1280, framerate=30/1, format=UYVY' ! videoscale ! xvimagesink sync=false
In the footage on the right, the light appears to repeatedly turn on and off, while the C1 Camera clearly captures the LED light in the footage on the left.
Shutter synchronization
TIER IV cameras allow for the precise control of shutter timing directly from a host PC. Let's try the function to see how it works.
1. Configure the camera to operate in trigger mode.
echo 1 | sudo tee /sys/module/tier4_isx021/parameters/trigger_mode echo 7 | sudo tee /sys/module/tier4_isx021/parameters/fsync_mfp
2. Launch the camera video acquisition node to display the feed.
source ~/edge_auto_jetson/install/setup.bash ros2 launch edge_auto_jetson_launch v4l2_camera.launch.xml
3. Put a stopwatch or time-monitoring app in the frame.
rqt -s rqt_image_view/ImageView
4. While the video is displayed, switch the trigger frequency between 1fps and 2fps, and observe the captured time in the image.
source ~/edge_auto_jetson/install/setup.bash ros2 launch sensor_trigger sensor_trigger.launch.xml gpio_name:=anvil_trigger frame_rate:=1.0
source ~/edge_auto_jetson/install/setup.bash ros2 launch sensor_trigger sensor_trigger.launch.xml gpio_name:=anvil_trigger frame_rate:=2.0
5. Open a separate terminal and run the following command to display the precise times at which the trigger signals are sent to the camera.
ros2 topic echo /camera0/trigger_time
The stopwatch should show that images are captured approximately every 1.0 second at 1 fps and approximately every 0.5 seconds at 2 fps.
Wrap-up
This post showed how simple it is to get started with object detection using TIER IV cameras. For more detailed information about their features, check out previous posts in this series – and stay tuned for the next installment, where we’ll be looking at LiDAR drivers developed by TIER IV.
Edge.Auto tech blog series:
- Edge.Auto’s HDR camera lineup explained
- Architecture and evolution of CMOS image sensors
- Understanding image sensor functions and shutter types
- Automotive camera interfaces explained
Tetsuya Yamamoto | Edge.Auto team
Tetsuya has worked on the development of cameras and autonomous driving kits at TIER IV since 2024. In a previous role, he was involved in product development of cameras and LiDAR for autonomous driving and sensing systems.
TIER IV is always on the lookout for passionate individuals to join our journey. If you share our vision of making autonomous driving accessible to all, get in touch.
Visit our careers page to view all job openings.
If you’re uncertain about which roles align best with your experience, or if the current job openings don’t quite match your preferences, register your interest here. We’ll get in touch if a role that matches your experience becomes available, and schedule an informal interview.
Inquiries
- Media: pr@tier4.jp
- Business: sales@tier4.jp
Social Media
X (Japan/Global) | LinkedIn | Facebook | Instagram | YouTube
More